

In This Article
How to Use a Water Flosser: A Comprehensive Step-by-Step Guide for Better Oral Health
Nov 17, 2022
Are you among the many people who fear flossing with regular dental floss?
You're not alone. A study by the American Academy of Periodontology found that 36% of adults would rather do unpleasant things like cleaning toilets than floss daily with traditional dental floss. But if you don't floss, you may be more likely to get periodontal disease and other systemic diseases and conditions that can be deadly.
A water flosser can help alleviate these fears. Not only can it make flossing more enjoyable, but it can also effectively remove food and germs from hard-to-reach places. In this article, we'll delve into the importance of using a water flosser and provide a step-by-step guide on how to use one.
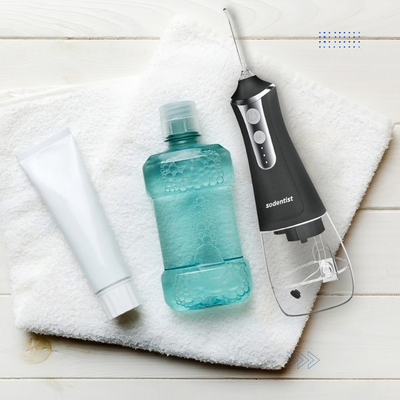
What is a Water Flosser?
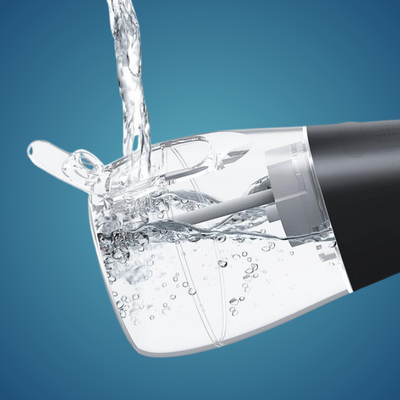
A water flosser, also known as an oral irrigator, is a device that uses a stream of pulsating water to remove plaque and food particles from between teeth and along the gumline. It can be a more effective and easier-to-use alternative to traditional dental floss, especially for those with braces, sensitive gums, or limited dexterity. Water flossers come in various sizes and strengths, and they can help improve oral hygiene and reduce the risk of gum disease and tooth decay.
So, just how important is water flossing? Continue reading to find out.
The Importance of Using a Water Flosser
Research shows that water flossing is an essential part of good oral hygiene. A study by the American Dental Association revealed that people who used a water flosser in addition to brushing had 29% less bleeding and 26% less gum disease than those who only brushed. Another review published in the Journal of Clinical Periodontology showed that water flossing was more successful than regular flossing in reducing plaque and improving gum health.
Using a water flosser can also be particularly beneficial for those with orthodontic devices like braces. It can reach hard-to-clean areas and may be a good option for people with sensitive teeth or gums, as the water pressure can be adjusted for comfort. Given these advantages and the fact that good oral health can prevent systemic diseases, a water flosser is more than just a tool for a better smile.
Ready to learn how to use a water flosser? Let's get started.
How to Use a Water Flosser
Using a water flosser can be an effective way to remove food particles and plaque from between your teeth and along your gum line. Here are the detailed steps on how to use a water flosser:
-

Step 1: Choose the right tip
Water flossers come with different tips for different purposes, such as general use, orthodontics, or gum massage. Choose the tip that is best for your needs and attach it to the handle.
-
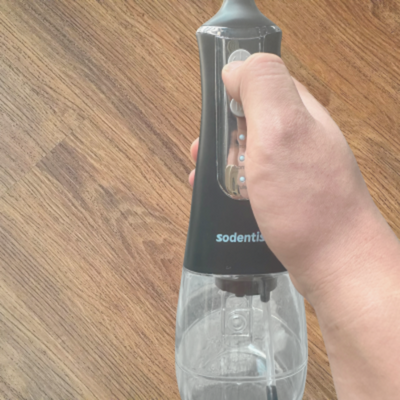
Step 2: Fill the reservoir
Fill the water flosser's reservoir with warm water. You can also add mouthwash or other oral care solutions to the water if desired.
-
Step 3: Adjust the pressure
Start the water flosser on the lowest pressure setting and gradually increase it to the level that feels comfortable to you.
-
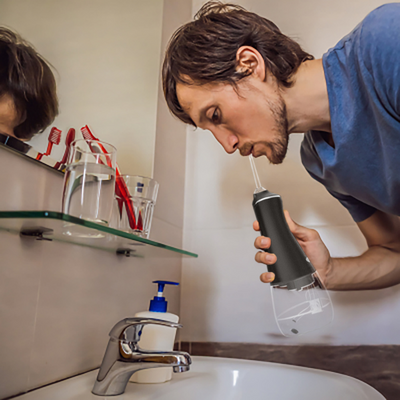
Step 4: Lean over the sink
Lean over the sink and place the tip of the water flosser in your mouth. Close your lips around the tip to prevent splashing.
-

Step 5: Start the water flow
Turn on the water flosser and let the water flow out of your mouth into the sink. Begin with the back teeth and work your way forward, aiming the tip at the gumline at a 90-degree angle.
-

Step 6: Move along the gum line
Gently guide the tip along your gumline, pausing briefly between teeth to allow the water to remove any food particles or plaque. Angle the tip toward your gumline, making sure to get under it, but don't point it directly at your gums.
-
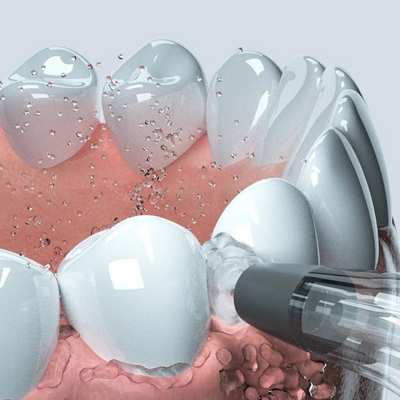
Step 7: Clean all sides of each tooth
Make sure to clean the front, back, and top of each tooth, angling the tip slightly toward each surface as you move along.
-
Step 8: Rinse and clean the water flosser
Once you have finished flossing, turn off the water flosser and spit the water into the sink. Remove the tip from the handle and rinse both the tip and handle thoroughly under running water. Empty any remaining water from the reservoir and wipe the water flosser dry.
With regular use, a water flosser can help improve your overall oral hygiene and reduce your risk of gum disease and tooth decay.
But your dental care doesn't end here. Just as important as using the flosser is keeping it clean. Here's how to clean your water flosser.
How to Clean a Water Flosser
Here are the four key points for cleaning your water flosser:
- Disassemble the flosser and rinse the parts under running water to remove loose debris and bacteria.
- Soak the tip in a mixture of warm water and vinegar or hydrogen peroxide for 5–10 minutes to disinfect it.
- Use a soft-bristled brush to scrub the inside of the reservoir with a mild soap solution.
- Dry all parts thoroughly before reassembling the water flosser and storing it in a clean, dry place.
It is recommended to clean your water flosser after each use to prevent the buildup of bacteria and debris. By following these steps, you can keep your water flosser clean and in good condition for longer use.
In Conclusion
Incorporating a water flosser into your daily oral care routine can significantly improve your oral health. As evidenced by the American Dental Association and American Academy of Periodontology studies cited earlier, water flossing can be a highly effective method for maintaining a healthy mouth. So, if you haven't already, consider investing in a water flosser and making it an integral part of your daily oral care routine.
Share this article